Are you having trouble getting sound out of your audio equipment despite using an optical audio cable? Don’t worry, you’re not alone! In this blog post, we’ll dive into the common reasons behind why your optical audio cable might not be working and provide you with some troubleshooting tips to help you get your audio setup up and running smoothly.
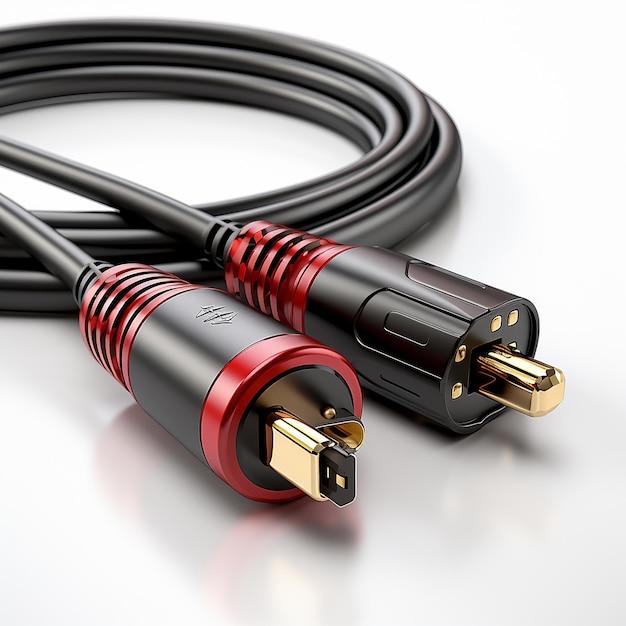
Optical audio cables, also known as TOSLINK cables, are popular for connecting audio devices such as TVs, soundbars, and gaming consoles. They use light signals to transmit audio data, providing a high-quality digital audio experience. However, occasionally you may encounter issues where you’re not getting any sound or experiencing poor audio quality despite everything being properly connected.
In this post, we’ll cover topics like the working mechanism of optical audio cables, potential compatibility issues, troubleshooting steps, and alternative connection options. So sit tight and get ready to solve the mystery of why your optical audio cable is not working. Let’s get started!
Why is my optical audio cable not working?
If you’re experiencing audio issues with your optical audio cable, fear not! You’re not alone in this quest for audio perfection. While optical audio cables are known for their high-quality audio transmission, they can occasionally have their moments of rebellion. Let’s dive into some common reasons why your optical audio cable might be misbehaving.
The Invisible Kickstand: Loose Connections
One possible reason your optical audio cable isn’t doing its job could be due to loose connections. Have you checked if the connectors at both ends of the cable are securely plugged in? It’s worth giving them a gentle push to ensure they are snugly fit. Maybe your cable just needed a little reminder that it’s supposed to be transferring audio, not playing hide-and-seek.
Optical Cable on a Diet: Clogged or Damaged Cable
Ah, the struggles of maintaining a healthy diet, even for our dear optical cables. Over time, these cables can accumulate dust or debris, hindering the audio signal. It’s a good idea to inspect your cable for any signs of damage or blockage. If you notice any bends or breaks along the cable’s length, it might be time to bid adieu to your old cable companion and welcome a new one into your audio setup.
The Stage Fright Factor: Incorrect Audio Settings
Sometimes, it’s not the cable’s fault. Your audio setup might need a nudge in the right direction. Double-check your audio settings on both the source device (such as your TV or sound system) and the receiving device (speakers or headphones). Ensure that the audio output is set to the optical connection. Don’t let technical jargon intimidate you; you’re the master of this audio symphony!
The Bermuda Triangle of Adapters: Incompatible Devices
Ah, the Bermuda Triangle, known for swallowing up things that don’t belong. Your optical audio cable might not be working if you’re trying to connect it to an incompatible device. Ensure that the devices you are connecting are indeed capable of transmitting or receiving digital audio through an optical connection. Sometimes, it’s best to avoid those mysterious Bermuda Triangle moments by checking device compatibility beforehand.
The Ghostly Interference: External Factors
Just like ghosts, external factors can mysteriously affect the performance of your optical audio cable. Keep an eye out for potential culprits such as electrical interference from nearby devices or even excessively long cable lengths. Ghosts might be invisible, but their interference is not. Make sure your audio setup is free from such haunting disturbances.
Time to Summon the Tech Support Wizards
If all else fails and your optical audio cable is still refusing to cooperate, it might be time to call upon the expert help of tech support wizards. Reach out to your device manufacturer or audio specialists who can guide you through a series of troubleshooting steps specific to your setup. These wizards have the power to cast spells to banish audio troubles, so don’t hesitate to summon their help.
In conclusion, optical audio cables are marvelous companions in the quest for high-quality audio, but sometimes they need a little nudge to get back on track. Ensure secure connections, check for cable damage or blockage, review your audio settings, verify device compatibility, watch out for pesky external factors, and consult the wise tech support wizards if needed. With these tips, you’ll be back to enjoying your favorite tunes or immersive movies in no time. Carry on, audio enthusiasts!
FAQ: Why is my optical audio cable not working?
Welcome to our comprehensive FAQ section on why your optical audio cable may not be working. We understand how frustrating it can be when you’re trying to enjoy your favorite music or movie, only to be left with silence. Fear not, as we’ve got you covered with answers to some common questions and troubleshooting tips to get your optical audio cable up and running again.
Is there an adapter for an optical cable
Yes, indeed! If you find yourself needing to connect your optical audio cable to a device with a different type of port, fear not. There are adapters available that can bridge the gap and ensure compatibility. Whether it’s a standard 3.5mm audio jack or a traditional RCA connection, you can find an adapter that suits your needs. Just make sure to check the specifications and compatibility before purchasing.
Why is my optical audio cable not working
Ah, the age-old question that has puzzled many audiophiles! There could be several reasons why your optical audio cable is being stubborn. Let’s dive into a few common culprits:
-
Loose Connections: Double-check that both ends of your optical cable are securely plugged in. Sometimes, a loose connection can be the root of all evil.
-
Dirty Connectors: It’s time to play clean-up! Dust and grime can hinder the connection quality. Grab a soft cloth and gently wipe the connectors to ensure a clear path for your audio signals.
-
Device Settings: Your audio source and receiver may require some tinkering in the settings department. Make sure your audio output is correctly configured for optical audio and that you haven’t accidentally muted anything. It’s happened to the best of us!
-
Fragile Cable: Optical cables are delicate creatures. Check for any visible signs of damage or frayed wires that may be disrupting the flow of sound. If you spot any issues, consider replacing the cable with a new one.
-
Outdated Equipment: Sometimes, technology moves faster than we do. If your audio equipment is on the older side, it’s possible that it may not be compatible with modern optical audio standards. In this case, you might need to explore alternative connection options or upgrade your gear.
How do optical audio cables work
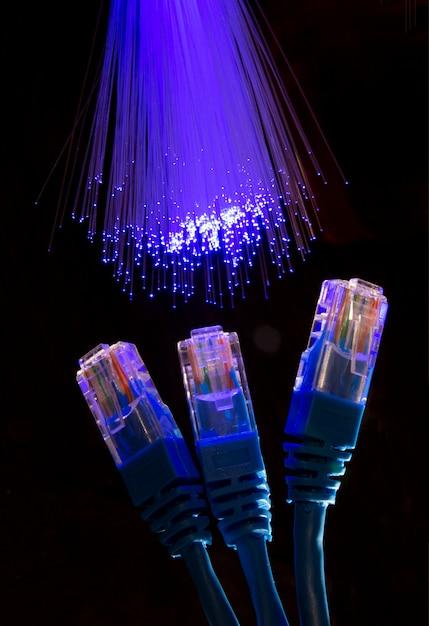
Ah, the magic of optical audio cables! Picture this: tiny beams of light dancing through slender fibers in your cable, carrying the sweet melodies or explosive sound effects from your audio source to your speakers or headphones. These cables utilize fiber optics to transmit digital audio signals using light pulses. The light is converted into electrical signals at the receiving end, and voila! You’re immersed in audio goodness.
What’s the best way to connect a soundbar to a TV
If you want to crank up the volume and bring the cinematic experience right into your living room, connecting a soundbar to your TV is a smart move. One of the best ways to do this is by using an optical audio cable. It provides a high-quality and reliable connection, ensuring that every whisper and explosion is delivered with precision. Simply connect one end of the optical cable to the soundbar and the other end to the corresponding optical audio output on your TV. Set the audio output to the optical option in your TV’s settings, and you’ll be engulfed in rich, immersive sound.
How do I connect my optical audio cable to my computer
Glad you asked! If you’re looking to enhance your computer’s audio capabilities with an optical audio cable, it’s a breeze. Follow these steps:
-
Check Your Ports: First, make sure your computer has an optical audio output. It’s typically a small square port with a red light inside. Don’t worry; it won’t blind you!
-
Get the Cable: Equip yourself with a suitable optical audio cable that has the right connectors for your computer and audio equipment.
-
Connect and Configure: Plug one end of the cable into your computer’s optical audio output and the other end into the corresponding input on your audio receiver or sound system. Once the cable is in place, dive into your computer’s sound settings to ensure that the optical audio output is selected as the default audio device.
-
Let the Audio Flow: Sit back, relax, and treat your ears to the musical delicacies that’ll now grace your ears, courtesy of your optical audio cable.
Which is a better connection, HDMI or optical
Ah, the age-old battle of the cables! While both HDMI and optical audio cables serve their purposes well, each has its own strengths. HDMI is a swiss-army knife of connections, offering support for high-definition audio and video in a single cable. It’s perfect for connecting devices like Blu-ray players and gaming consoles to your TV or receiver. On the other hand, optical cables have the edge when it comes to transmitting pure audio signals. They excel at delivering high-quality audio from devices like soundbars or audio receivers to your speakers or headphones. Remember, it’s all about finding the right tool for the job at hand.
And there you have it, folks! Our comprehensive FAQ section on why your optical audio cable might not be working. We hope this guide has shed some light on the subject and given you the knowledge to troubleshoot any cable conundrums you may encounter. Happy listening in the wonderful world of optical audio!