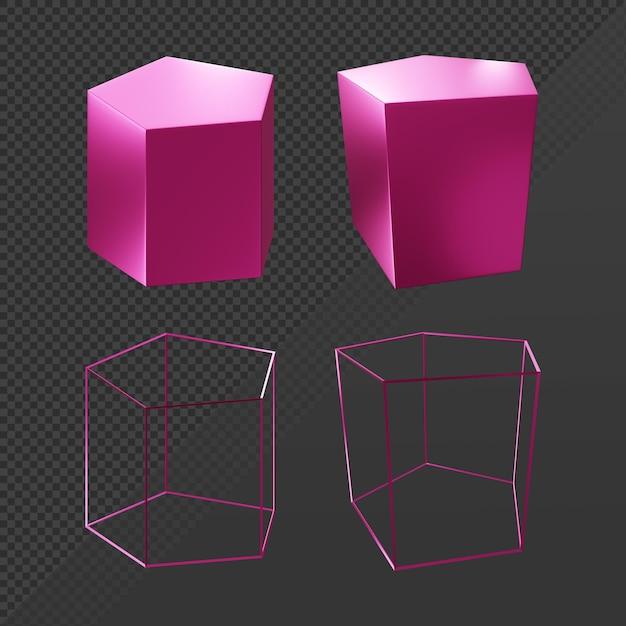
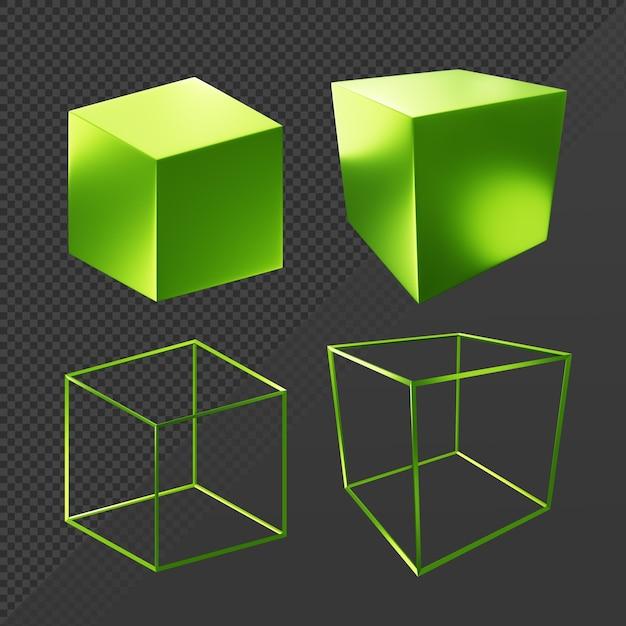
Whether you’re a budding artist, an aspiring architect, or simply someone interested in the world of graphics, understanding the concepts of perspective and orthographic projections is essential. These techniques play a crucial role in creating accurate and realistic representations of objects or scenes. Yet, for many, the distinction between perspective and orthographic can be quite confusing. Fear not, for in this blog post, we will delve into the world of visual projections and explore the key differences between perspective and orthographic, shedding light on their uses and practical applications.
In this comprehensive guide, we will explore the two main types of orthographic projections and examine who exactly utilizes 3rd angle projection. Moreover, we will dissect the major differences between third and first angle projection, as well as the distinction between perspective and parallel projection. Lastly, we will touch on the difference between orthographic and oblique projection, unraveling their unique characteristics and purposes. So, whether you’re a beginner or an experienced professional, this blog post will serve as your go-to resource for understanding the nuances of perspective and orthographic projections. Let’s embark on this enlightening journey together!

What is the Difference Between Perspective and Orthographic?
Perspective: Seeing the World in 3D
If you’ve ever marveled at a breathtaking painting or admired a realistic graphic design, chances are you’ve experienced the power of perspective. In the world of art and design, perspective refers to the technique used to create a sense of depth and three-dimensionality on a two-dimensional surface. It’s like giving flatness a little magical oomph!
Types of Perspective
To dive deeper, let’s explore the two main types of perspective: one-point perspective and two-point perspective. In one-point perspective, all lines converge into a single vanishing point, creating the illusion of depth and distance. Imagine standing at the end of an infinite road that gradually shrinks into the horizon. Two-point perspective, on the other hand, introduces two vanishing points, resulting in a more dynamic and realistic representation. Think of a cityscape where buildings dramatically recede into the distance.
Orthographic: The Art of Flattening
Now, let’s switch gears and dive into orthographic projection, where everything becomes delightfully flat. In the realm of technical drawings and engineering, orthographic projection reigns supreme. Instead of aiming to fill your eyes with depth, orthographic drawings show objects in a series of two-dimensional views, capturing their precise measurements with unwavering accuracy.
Orthographic Views
To envision orthographic views, imagine yourself standing in front, to the side, and on top of an object, scrutinizing it from different angles. Each of these viewpoints represents a separate orthographic view: front, side, and top. These views combine to provide a comprehensive and precise representation of the object’s dimensions and proportions.
Dimensional Delight
Where perspective drawings bring artworks to life, orthographic projections cater to the precision-hungry engineers and architects of the world. It’s like a dance between artistic flair and mathematical rigor. Both techniques possess unique strengths, offering distinct perspectives (pun intended) on how we perceive and portray the world around us.
Perspective and orthographic projection may seem antithetical, but they both serve vital roles in the worlds of art and engineering. While perspective enchants us with the illusion of depth and dimension, orthographic projection delivers objective accuracy and measurement. So, the next time you find yourself gazing at a stunning painting or poring over technical drawings, take a moment to appreciate the contrasting magic of perspective and orthographic projection – two sides of the artistic coin.

FAQ: What is the difference between perspective and orthographic?
Welcome to our FAQ section that answers all your burning questions about the difference between perspective and orthographic projections.
What are the two types of orthographic projections
Orthographic projections can be classified into two types:
First Angle Projection
In first angle projection, the object is placed in the first quadrant, and the observer looks at the object from behind the projection plane. This is the standard method used in Europe and much of the world.
Third Angle Projection
In third angle projection, the object is placed in the third quadrant, and the observer looks at the object from the opposite side of the projection plane. This method is primarily used in the United States.
Who uses 3rd Angle Projection
As mentioned earlier, the United States is the primary user of the third angle projection method. So, if you find yourself in America, you’re more likely to come across this type of projection.
What is the difference between third and first angle projection
The major difference between third and first angle projection lies in the placement of the object and the observer’s position. In third angle projection, the object is placed in the third quadrant while the observer is positioned on the opposite side of the projection plane. On the other hand, in first angle projection, the object is placed in the first quadrant, and the observer stands behind the projection plane.
What is the major difference between perspective and parallel projection
The key distinction between perspective and parallel projection is how they represent depth in drawings.
Perspective Projection
Perspective projection mimics how we naturally perceive depth in real life. Objects that are closer appear larger and more detailed, while those in the distance appear smaller and less detailed. It’s as if the drawing is giving us a sneak peek into a three-dimensional world.
Parallel Projection
With parallel projection, all lines remain parallel, resulting in an equal representation of depth throughout the drawing. This method is commonly used in technical and engineering drawings, where precise measurements and accurate scaling are crucial.
What is the difference between orthographic and oblique projection
Orthographic and oblique projections are two distinctive ways of representing three-dimensional objects.
Orthographic Projection
Orthographic projection displays the object in a series of two-dimensional views, such as front, top, and side views, without any perspective. It aims to accurately represent the object’s shape, size, and features.
Oblique Projection
Oblique projection, on the other hand, provides a more pictorial representation of the object by displaying one face of the object in a true shape, while the rest of the object is shown in a distorted manner. This projection offers a more artistic and expressive approach to showcasing three-dimensional objects.
And there you have it! We hope these answers have shed some light on the difference between perspective and orthographic projections. If you have any more questions, feel free to ask!
