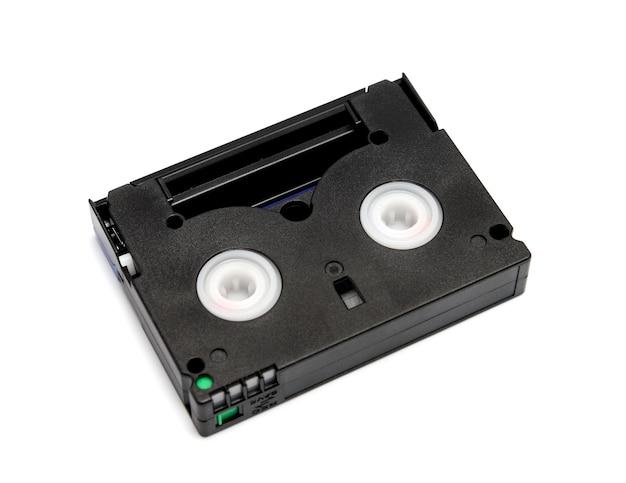
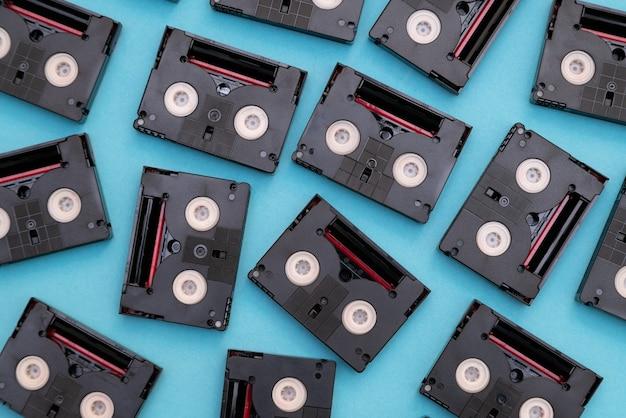
Are you one of those people who still have old Mini DV tapes lying around, wondering how to preserve those precious memories? Well, fear not! In this comprehensive guide, we will walk you through the process of transferring Mini DV tapes to your computer. Whether you have a Sony Mini DV tape or any other brand, we’ve got you covered!
With the advent of digital age, Mini DV tapes might seem outdated, but they still hold a lot of sentimental value. And let’s face it, nostalgia never goes out of style! So, if you’re curious about preserving those old videos from family vacations, graduations, or other special events, you’ve come to the right place.
In this blog post, we will answer some common questions like how to transfer Mini DV tapes to your computer without a camera, how long these tapes actually last, and what you can do with your old Mini DV tapes. We’ll also explore options for playing DV tapes without a camcorder. So, dust off those Mini DV tapes and let’s dive into the world of digitizing memories!
How to Transfer Mini DV Tapes to Your Computer
So, you’ve got some precious memories stored on those Mini DV tapes, and you want to bring them into the digital era without losing any of the magic. Well, fear not, because in this guide, we’ll show you how to transfer those tapes to your computer with minimal fuss and maximum fun!
Gather Your Gear
First things first, you’ll need to round up the necessary equipment to make this transfer happen. Here’s what you’ll need:
1. Mini DV Camcorder
Don’t worry, folks, you haven’t traveled back in time to the ’90s. While Mini DV tapes may seem outdated, we can still squeeze every last drop of nostalgia out of them by using a Mini DV camcorder. If you don’t already have one, you can often find second-hand models online or in the dusty corners of electronics stores.
2. Firewire Cable
Ah, the good old Firewire cable – the unsung hero of Mini DV transfers. This trusty cable will serve as your magical conduit, allowing the data on those tapes to flow to your computer. Make sure your computer has a Firewire port or be prepared to invest in an adapter.
3. Computer with Video Editing Software
Now, I know what you’re thinking – “Do I need to be Steven Spielberg to transfer these tapes?” Fear not! While having video editing software like Adobe Premiere or Final Cut Pro can be handy, you can also use basic software like iMovie or Windows Movie Maker to capture the footage from your Mini DV tapes.
Step-by-Step Transfer Process
Alright, now that you’ve got your equipment ready, it’s time to dive into the step-by-step process of transferring your Mini DV tapes to your computer. Follow these instructions, and you’ll be reliving those cherished memories in no time:
1. Connect the Camcorder to Your Computer
Take your Firewire cable and connect one end to the Firewire port on your camcorder and the other end to the Firewire port on your computer. If you’re using an adapter, make sure to connect that to your computer first.
2. Power Up the Camcorder and Your Computer
Before you start the transfer, make sure both your camcorder and computer are powered up and ready to go. You don’t want any unexpected shutdowns ruining your journey down memory lane.
3. Prepare the Software
Open up your video editing software or any other software you plan to use for the transfer. Create a new project and set it up to capture video from your connected camcorder. Check the software’s documentation if you’re unsure how to proceed – trust me, they usually have good instructions.
4. Cue Up Your First Tape
Grab your first Mini DV tape and insert it into the camcorder. Make sure the tape is rewound to the beginning and give it a gentle pat for good luck. We’re about to embark on some serious tape-to-computer magic!
5. Start Capturing the Footage
Press the play button on your camcorder and then hit the record button on your software. Be prepared for a wave of nostalgia to wash over you as the old footage appears on your computer screen. Ah, the memories… sniff
6. Rinse and Repeat
Once the first tape has finished playing, stop the recording on your software, remove the Mini DV tape, and insert the next one. Repeat steps 5 and 6 for each tape until you’ve transferred all your precious memories.
Time to Relive Those Golden Moments!
Congratulations, my friend! You’ve successfully transferred your Mini DV tapes to your computer. Now, sit back, relax, and enjoy reliving those cherished moments. You can edit the footage, share it with loved ones, or simply bask in the nostalgia.
Remember, while technology keeps evolving, the memories we capture on these older formats remain timeless. So, go ahead and dive into the past – but don’t forget to come up for air every once in a while. Happy transferring!
FAQ: How do I transfer Mini DV tapes to my computer?
How to Transfer Sony Mini DV to Computer
If you’re looking to transfer your Sony Mini DV tapes to your computer, fear not! We’ve got you covered. Follow these simple steps for a seamless transfer process:
-
Check Your Equipment: Make sure you have a Mini DV camcorder and a FireWire cable. Most newer computers no longer have FireWire ports, so you may need to purchase an adapter.
-
Connect Your Camcorder: Using the FireWire cable, connect your Mini DV camcorder to your computer. If you’re using an adapter, make sure it’s properly connected as well.
-
Power Up: Turn on your camcorder and set it to VCR or Play mode. This will allow your computer to recognize it as a removable device.
-
Launch Video Editing Software: Open up your preferred video editing software on your computer. If you don’t have one, don’t fret! There are plenty of free options available online.
-
Import the Video: Within your video editing software, locate the option to import video from a device. This will vary depending on the software you’re using, but look for terms like “Import from camcorder” or “Capture video.”
-
Start Transferring: Once your software recognizes the Mini DV camcorder, you can select the videos you want to transfer and start the process. Sit back, relax, and let the magic happen!
How to Transfer Mini DV Tapes to Computer without a Camera
Not everyone has access to a Mini DV camcorder, and that’s okay! Here’s a nifty solution if you find yourself without one:
-
Hunt for a Rental: Check out your local electronics store or camera rental shop. They often offer camera rentals, including Mini DV camcorders. It’s a cost-effective way to get your tapes transferred without breaking the bank.
-
Tap into Your Network: Ask your friends, family, or colleagues if they have a Mini DV camcorder sitting idle. You’d be surprised how many people have gadgets collecting dust in their closets. Borrowing one could save you both money and headaches.
-
Professional Services: If all else fails, consider the option of professional video transfer services. There are companies out there specializing in this very task. Though it may cost a bit more, it’s a reliable and hassle-free way to digitize your Mini DV tapes.
How Long Do Mini DV Tapes Last
Ah, the longevity of Mini DV tapes – a frequently asked question! While these little wonders can stand the test of time, it’s important to know their limits. Here’s what you need to keep in mind:
-
Age Matters: Mini DV tapes, on average, have a lifespan of about 12-15 years. However, this can vary depending on various factors such as storage conditions, playback frequency, and overall usage.
-
Quality Matters: The quality of your tapes also plays a significant role in their lifespan. Higher-grade tapes tend to fare better over time compared to low-quality ones. So, investing in good-quality Mini DV tapes can have a positive impact on their longevity.
-
Digitize for Preservation: To ensure your precious memories stand the test of time, digitize your Mini DV tapes as soon as possible. By transferring them to your computer or an external hard drive, you can safeguard your videos for years to come.
Can You Record Over DV Tapes
Absolutely! Mini DV tapes can be recorded over, giving you the chance to reuse them for new videos or projects. It’s like hitting the reset button on your tape, allowing you to capture fresh content and make new memories.
Quick Tip: Before recording over any tapes, double-check that the footage you wish to delete is no longer needed. You wouldn’t want to accidentally erase Grandma’s surprise birthday party!
Do People Still Use Mini DV
Ah, the wonders of technology and nostalgia! While the Mini DV format has taken a backseat in recent years, there are still folks out there who cherish the magic of these tiny tapes. Many videography enthusiasts and professionals appreciate the unique visual quality that Mini DV offers, which can’t always be replicated with digital cameras.
So, to answer your question, yes, people still use Mini DV, albeit in smaller numbers. It’s a testament to both its enduring charm and a longing for simpler times.
What Can I Do with Old Mini DV Tapes
Oh, the possibilities are endless when it comes to repurposing your old Mini DV tapes! Here are a few ideas to spark your creativity:
-
Create a Time Capsule: Compile your favorite moments from different tapes and create a time capsule for future generations. Imagine the joy on their faces as they journey back through time, witnessing family milestones and hilarious adventures.
-
Crafty Creations: Get crafty and transform your Mini DV tapes into unique DIY projects. Picture coasters, funky photo frames, or even a quirky lampshade – the only limit is your imagination!
-
Donate or Sell: If you’re done with the Mini DV format altogether, consider donating or selling your tapes. There might be budding filmmakers or retro enthusiasts out there who would love to get their hands on them.
How Can I Play DV Tapes without a Camcorder
If you find yourself longing to relive your Mini DV moments but lack a camcorder, worry not! Here are a few clever workarounds:
-
Camcorder Rental: Similar to transferring your tapes, renting a Mini DV camcorder can be a convenient option for playing your tapes. It gives you the joy of dusting off those memories while keeping your budget intact.
-
Transfer and Play: As we mentioned earlier, transferring your Mini DV tapes to your computer is a great way to preserve and play them. Once digitized, you can use video playback software or even burn them onto DVDs for a classic movie night.
-
Hunt for a VCR: Believe it or not, some VCR models can play Mini DV tapes. Scour local thrift stores, garage sales, or online marketplaces to find a VCR that includes Mini DV playback capabilities. It’s like finding buried treasure!
So, there you have it – a comprehensive FAQ guide that covers everything you need to know about transferring Mini DV tapes to your computer. Embrace the journey down memory lane, and happy transferring!
Disclaimer: All information provided in this article is accurate as of 2023. Technology and products may have evolved since the time of writing.