Welcome to our blog post on how to remove a headlight from a Sportster motorcycle! Whether you’re upgrading to LED headlights or need to fix a malfunctioning one, knowing how to properly remove the headlight is essential. In this comprehensive guide, we will walk you through the process, providing easy-to-follow steps.
But before we dive into the removal process, let’s address a common concern: why won’t your motorcycle headlights work? It can be frustrating when your headlights refuse to illuminate, especially during nighttime rides. We’ll touch on this issue and provide some troubleshooting tips along the way. So, if you’re ready to get started, let’s jump right in and learn how to remove the headlight from your Sportster!
Keywords: How do you install LED headlights on a motorcycle?, How do you remove a headlight from a Sportster?, How do you fix a motorcycle headlight?, Why won’t my motorcycle headlights work?
How to Bid Farewell to Your Sportster’s Headlight: A Step-by-Step Guide
Prying Off the Headlight Cover
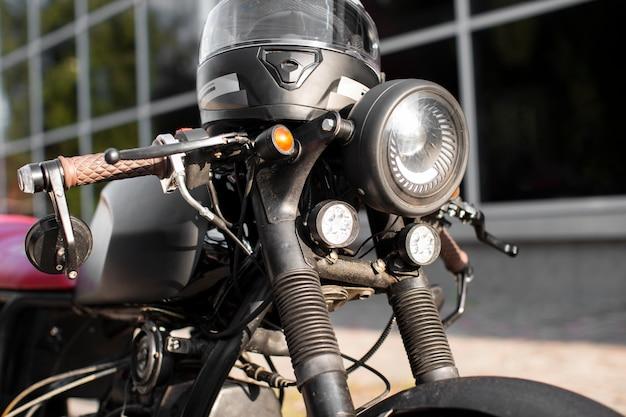
So, you’ve found yourself in a predicament where you need to remove the headlight from your beloved Sportster, huh? Fear not, intrepid rider! We’ve got your back. The first step in this headlight removal adventure is to gently pry off the headlight cover like a magician revealing a hidden bunny from a top hat. Grab a trusty flathead screwdriver and carefully wedge it between the cover and the housing, applying gentle pressure until the cover pops off with all the drama of a surprise party.
Disconnecting the Electrical Woes
Now that you’ve triumphantly unveiled the headlight, it’s time to tackle the next obstacle: disconnecting the electrical connections. We recommend donning your invisible superhero cape for this task. Locate the wiring harness connected to the back of the headlight and prepare to separate them like a magician separating two stubborn playing cards. Marvel at your own dexterity as you deftly detach the harness by sliding the connector’s tab up or down, setting the headlight free from its electric shackles.
Untaming the Beastly Bracket
Ah, the bracket – a sly creature that holds your headlight in place. You’ll need to remove it to grant your headlight the freedom it deserves. Here’s where the real challenge begins, like wrestling a particularly stubborn alligator. Grab your toolbox and choose the appropriate socket or wrench to loosen the bolts securing the bracket. Kick it up a notch with a hearty “hulk smash” growl or a short exclamation of triumph. Once the bolts are loose, safely stow them away and nudge the bracket off like pushing a mischievous squirrel off your bird feeder.
Gently Extracting the Mighty Headlight
As your Sportster revels in its newfound liberation, it’s time to gently remove the headlight from the grasp of its housing. With a delicate touch, slide the headlight out of its hallowed spot, taking care not to scratch the paint or bruise any fragile egos. Treat the headlight like a precious gem, cradling it in your hands, and bask in the glory of a job well done.
A Word of Encouragement
Removing the headlight from your Sportster might seem like a daunting task, but with the right tools, a sprinkle of finesse, and a dash of determination, you’ll be able to conquer this challenge like a true champion. So go forth, brave rider, and let your Sportster shine even brighter without its headlight. Happy tinkering!
Note: This guide assumes no liability for any scratches, dents, egos, or misadventures that may occur during the process. We encourage you to proceed with caution, patience, and perhaps a dollop of humor.
FAQ: How to Remove a Headlight from a Sportster?
How to Install LED Headlights on a Motorcycle
If you’re tired of your dim motorcycle headlights and want to upgrade to LED lights, you’re in luck! Follow these steps to illuminate your ride with modern, energy-efficient technology:
-
Gather the Right Tools: To install LED headlights, you’ll need a pair of pliers, a screwdriver, and a wrench. Ensure you have the correct size and type of LED headlights for your motorcycle model.
-
Disconnect the Battery: Safety first! Before you begin any electrical work, disconnect the battery to prevent any accidents or short circuits.
-
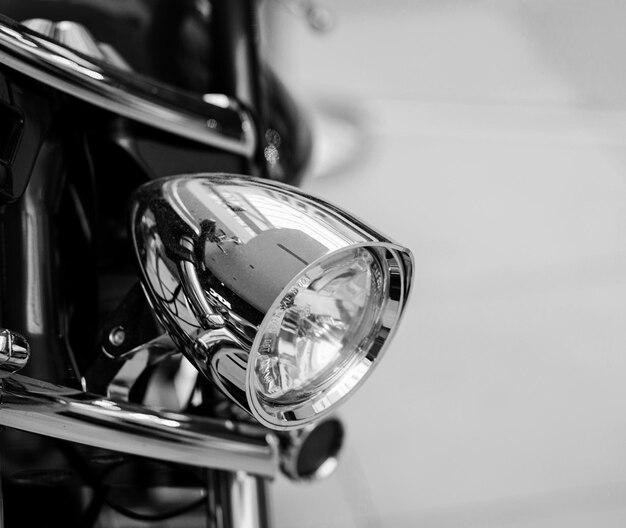
Remove the Old Headlight: Unscrew the retaining ring that holds the existing headlight in place using a screwdriver. Then, carefully unplug the wiring connector from the back of the headlight and set it aside.
-
Install the LED Headlight: Take your new LED headlight and connect the wiring connector to the corresponding socket on your motorcycle. Carefully slide the headlight into the housing and secure it with the retaining ring. Make sure it is properly aligned and tight.
-
Test the Headlights: Before you celebrate your installation success, re-connect your motorcycle’s battery and turn on the ignition to test your new LED headlights. Enjoy the bright light and improved visibility on your upcoming rides!
How to Remove a Headlight from a Sportster
Removing a headlight from your Sportster can be a breeze if you follow these simple steps:
-
Prepare the Tools: Grab a wrench or socket set, a screwdriver, and your trusty pliers. Having the right tools for the job makes everything smoother.
-
Disconnect the Battery: Safety first, as always. Disconnect the battery to avoid any unwanted electrical mishaps during the headlight removal.
-
Locate the Mounting Bracket: Find the mounting bracket that holds the headlight in place. It is typically located above the front forks, near the front end of your Sportster.
-
Remove the Fasteners: Use your wrench or socket set to loosen the fasteners securing the mounting bracket. Once loose, carefully remove them and set them aside, making sure not to lose any small bolts or washers.
-
Disconnect the Wiring: Gently disconnect the wiring connector at the back of the headlight. Take note of its position and any additional clips or fasteners holding it in place.
-
Remove the Headlight: With the wiring disconnected, the headlight should now be free to be removed from the mounting bracket. Carefully slide it out, making sure not to damage any surrounding parts.
How to Fix a Motorcycle Headlight
Dealing with a malfunctioning motorcycle headlight? Fear not! Here are a few steps to help you fix the issue and get back on the road with a brightly shining headlight:
-
Check the Bulb: Start by inspecting the headlight bulb. Make sure it is securely connected and hasn’t burned out. If it has, replace it with a new one compatible with your motorcycle model.
-
Inspect the Wiring: Examine the wiring harness connected to the headlight. Look for any loose connections, frayed wires, or corrosion. If you identify any issues, repair or replace the wiring as necessary.
-
Test the Fuse: Check the fuse dedicated to the headlight circuit. Use a multimeter to determine if it is still functional. If the fuse is blown, replace it with a new one of the same amperage.
-
Check the Switch: The headlight switch could be the culprit. Inspect the switch for any signs of wear or damage. If needed, replace it to ensure proper functioning of your motorcycle’s headlight.
-
Consult a Professional: If you’ve gone through these troubleshooting steps and still can’t fix the issue, it may be best to seek assistance from a professional motorcycle mechanic. They’ll have the expertise to solve more complex problems.
Why Won’t My Motorcycle Headlights Work
Sometimes, motorcycle headlights refuse to cooperate. Here are some potential reasons and steps you can take to shed some light on the situation:
-
Check the Battery: Insufficient power from a weak battery can cause your headlights to dim or not work at all. Ensure the battery is fully charged and in good condition. If it’s not, recharge or replace it as needed.
-
Inspect the Bulb: A burnt-out bulb is a common culprit. Check the headlight bulb for signs of damage or a broken filament. Replace it if necessary, ensuring you choose the correct bulb for your motorcycle.
-
Examine the Wiring: Faulty or damaged wiring can disrupt the flow of electricity to your headlights. Check for loose connections, pinched wires, or any visible signs of damage. Repair or replace any faulty wiring.
-
Verify the Fuse: A blown fuse can interrupt the current to your headlights. Locate the fuse box, usually found near the battery, and check if the headlight fuse is intact. Replace with a new fuse of the appropriate rating if needed.
-
Consider the Switch: A faulty headlight switch can prevent your lights from turning on. Ensure the switch is in the proper position and functioning correctly. If necessary, replace the switch to restore the light’s functionality.
Remember, if you encounter more complex issues or are unsure about how to proceed, it’s always wise to consult a professional motorcycle mechanic for assistance.
Now that you have the knowledge to tackle common headlight-related concerns, you can shine bright and cruise with confidence on your Sportster!