Are you tired of scribbling notes on random pieces of paper, only to misplace them later? Look no further! In this blog post, we will explore the simple and convenient process of creating notecards on Google Docs. Whether you’re a student in need of effective study tools or a professional seeking better organization, this guide has got you covered.
But that’s not all! We’ll also address common printing issues, such as the inability to print PDF files and the desire to print multiple cards on one page. Plus, we’ll throw in tips on creating custom printouts in Word and generating PDF files on your HP laptop. So, grab your digital notepad and let’s dive into the world of virtual notecards!
Keywords: How do I create a 4×6 template in Word?, Why can I not print PDF files?, How do I make a PDF file on my HP laptop?, How do you make a notecard on Google Docs?, How do I print without a printer?, How can I print 2 pages on 1 sheet?, How do I do a printout?, How do I create a custom print in Word?, How do I print multiple cards on one page?, Can not print from Windows 10?, Can HP Smart print Word documents?, Is there an index card template for word?, How can I create a PDF file?, How do I make a PDF file on my laptop?, How do I print non printable PDF?
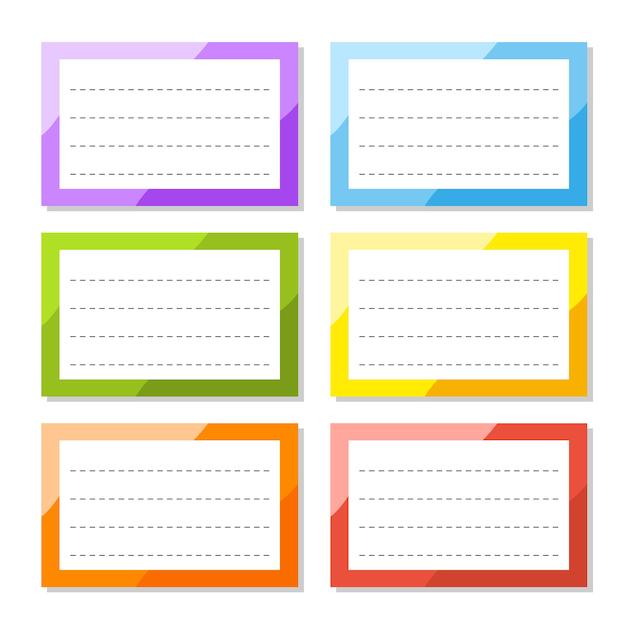
How to Create a Notecard on Google Docs
Google Docs offers a wide array of features to make your writing experience smooth, efficient, and even a tad bit whimsical. One such feature is the ability to create notecards, perfect for organizing your thoughts, ideas, or even impromptu crossword puzzles. So, grab your virtual pen, put on your thinking cap, and let’s dive into the magical world of notecards on Google Docs!
Starting Off on the Right Note(h3)
To begin, open up your friendly neighborhood Google Docs in your web browser or mobile app. If you’re using the web version, simply click on “Blank” to start with a fresh canvas. However, if you’re working on the mobile app, tap on the floating “+” button at the bottom right corner of your screen, and select “Blank Document.” Now you’re ready to journey into notecard bliss!
Formatting Magic(h3)
Now that you have a blank document at your fingertips, it’s time to make it look like a stylish notecard. To do this, navigate to the “Format” menu at the top of your screen. Click on it, and a dropdown will appear like a mythical creature emerging from the depths. From this menu, select “Paragraph styles” followed by “Quotes.” Voila! Your plain canvas is now transformed into a charming notecard, complete with a fancy border. It’s like giving your thoughts a stylish home!
Adding Some Pizzazz(h3)
Now that your notecard is looking dapper, let’s add some personality to it. Type in your desired text, whether it’s a thought, a reminder, or a reminder about thinking. To make your words command attention, highlight them and head back to the “Format” menu. This time, hover over “Text” and choose an eye-catching text color, such as bright orange or electric blue. Remember, your notecard should reflect your vibrant personality!
Organizing the Chaos(h3)
As your collection of notecards multiplies, it’s essential to keep them organized. To accomplish this feat, simply click on the “Insert” menu at the top of the screen. Then, select “Bookmark” to create a handy reference point for a specific notecard. With this nifty trick, you can navigate through your notecards with the grace and precision of a trapeze artist. No more tangles of thoughts or lost ideas!
Getting Smart with Sizes(h3)
Sometimes, you may crave a notecard that’s just the right size. Fear not, for Google Docs has got your back! To resize your notecard, click and drag the edges of your card to make it larger or smaller. It’s like stretching taffy or folding origami, except without the stickiness or paper cuts. Customize your notecard to fit your whims and fancies. It’s your world of thoughts, after all!
Wrapping It Up (or Not!)(h3)
And there you have it, a crash course in the enchanting art of creating notecards on Google Docs. From the initial format selection to organizing your burgeoning collection, you can now dive into a realm where ideas flow, thoughts simmer, and imagination takes flight. So, whether you’re drafting the next great novel or simply doodling your way through a brainstorm, let Google Docs be your trusty companion. Happy notecarding, my friend!
Disclaimer: No trees were harmed in the making of these virtual notecards.
FAQ: How Do You Make a Notecard on Google Docs?
How to Create a Notecard Template in Google Docs
So, you’ve got a ton of ideas buzzing in your brain and want to organize them into neat notecards. Google Docs is here to save the day! With its user-friendly interface and versatile features, you’ll be capturing your thoughts in no time.
1. Open a Blank Document
Fire up your favorite web browser, navigate to Google Docs, and create a new blank document. Alternatively, you can also access Google Docs through the Google Drive platform.
2. Adjust the Page Setup
First things first, let’s make sure your notecards align with the physical world. Go to the “File” menu, select “Page Setup,” and get ready for some tweaking.
3. Set the Paper Size
You’ll want your notecards to fit snugly into the real world, so let’s configure the paper size. In the Page Setup dialog box, under the “Paper size” dropdown menu, select the desired dimensions. A popular notecard size is 3×5 inches, perfect for scribbling down those light bulb moments.
4. Adjust Margins (Optional)
Margins are like borders for your notecards. Feel free to adjust them according to your preferences. Simply enter the desired values in the “Margins” section of the Page Setup dialog box.
5. Save as a Template
To avoid going through this setup process every time you want to create a notecard, save it as a template. Go to the “File” menu, select “Save as Template,” and give it a catchy name. Now, you can find your personalized notecard template under the “Template Gallery” when you want to create more notecards.
Why Can’t I Print My Notecards on Google Docs
Uh-oh! Ran into a printing predicament, did you? Fear not, for we shall troubleshoot this problem together. Here are a few common solutions when you’re unable to print your notecards from Google Docs.
1. Check Your Printer Connection
Sometimes, it’s the simple things that go awry. Ensure your printer is properly connected to your device and turned on. Trust me, even the most tech-savvy among us have overlooked this step.
2. Clear Printer Queue
Oh, the tangled web of print queues! If your printer is throwing a hissy fit, it might be due to a backed-up print queue. Head to your printer settings and clear the queue. Now, your notecards should dance out of the printer with ease.
3. Update Printer Drivers
Outdated printer drivers can be the sneaky villains that sabotage your printing dreams. Visit the manufacturer’s website or use the automatic driver update tools available in your operating system to ensure you have the latest drivers installed.
4. Adjust Print Settings
Double-check your print settings. Make sure you’ve selected the correct printer and that the paper size matches the dimensions of your notecards. Don’t be that person who accidentally prints out life-sized notecards.
5. Print as PDF and Then Print the PDF
If all else fails, here’s a clever workaround. Print your notecards as a PDF file from Google Docs. Then, open the PDF file and print it from there. It’s the ol’ one-two punch that might just save the day.
How to Print Multiple Notecards on One Page
Ah, the desire to maximize space and minimize paper consumption! If you’re looking to print multiple notecards on a single page, the magnificent magic of Google Docs has got you covered.
1. Adjust Page Setup
Similar to creating a notecard template, open the Page Setup dialog box and customize the paper size and margins to accommodate multiple notecards on a single page. You have the power to fit as many notecards as you desire!
2. Create a Grid
Visualize your notecards like a grid of ideas waiting to be explored. Use tables or text boxes in Google Docs to create the desired layout for your multiple notecards. Play around with different configurations until you achieve the perfect arrangement.
3. Copy and Paste
Once your grid-of-notecards masterpiece is ready, copy and paste your original notecard content into each section of the grid. Feel free to get creative with colors, fonts, or even adding quirky doodles.
4. Print Preview
Before unleashing your notecards into the realm of reality, take a moment to admire their virtual form. Click on “File” and select “Print Preview” to ensure everything looks just how you envisioned it.
5. Print with Joy
The time has come to set your notecards free! Select “Print” from the File menu, adjust any final print settings if needed, and watch as the printer turns your digital creations into tangible inspiration.
And there you have it—creating notecards on Google Docs and conquering the notecard printing challenge like a boss! Let your creativity flow, your ideas flourish, and may your notecards be a testament to your brilliance. Happy writing!