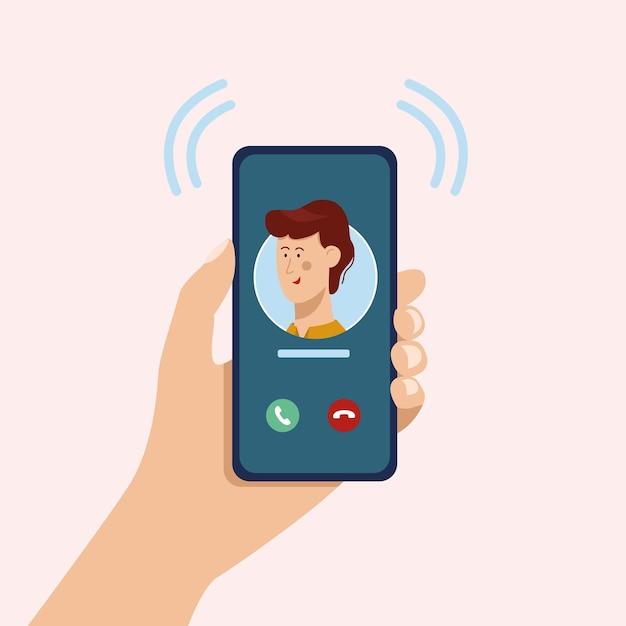
Have you ever found yourself in a situation where you needed to make an international call on your iPhone, but weren’t sure how to go about it? Well, fret no more! In this blog post, we’ll guide you through the steps to turn on international calling on your iPhone, ensuring you never miss a chance to connect with your loved ones or important business contacts around the world.
Whether you’re on Verizon or another network, our guide will provide you with the necessary instructions to enable international calling. We’ll also answer common questions like whether you get charged for incoming international calls and provide valuable tips to make the most of this feature. So, grab your iPhone and let’s get started on this international calling adventure together!
Without any further delay, let’s dive into how you can effortlessly switch on international calling on your iPhone.
How to Enable International Calling on Your iPhone
If you’re itching to dial up your cousin’s cozy cottage in the Cotswolds or chat with your old college buddy backpacking through Bali, you’ll need to flex your international calling muscles on your trusty iPhone. Lucky for you, enabling international calling is easier than doing a yoga handstand (trust me, I’ve tried). Follow the simple steps below and prepare to embark on a global gabfest.
Check Your Carrier’s International Options
Before diving into the deep end of international calling, it’s essential to make sure your carrier has your back (and your call). Give your carrier a holler, or skirt the small talk and check their website to see what international calling options they offer. Some carriers might automatically enable international calling for you, while others may require you to activate it manually or sign up for an additional plan.
Enable International Calling on Your iPhone
Once you’ve confirmed that your carrier supports international calling, it’s time to jump into the settings of your iPhone. Grab that trusty device, tap on the “Settings” app (you know, the one with the gears), and prepare to navigate through the digital labyrinth.
Step 1: Trust Your Instincts
In the mystical realm of settings, your first destination is the “Phone” section. It’s like telepathy, but without the questionable psychic powers.
Step 2: Embrace Your Inner Calling Globetrotter
Within the “Phone” section, scroll down in search of the mystical region known as “Cellular.” Think of it as your passport to international communication adventures.
Step 3: Activate the Superpower
Are you ready for the pivotal moment? Take a deep breath, summon your courage, and tap on the “Cellular Data Options” section. This is where the magic happens, my friend.
Step 4: Embrace the Roaming
Within the vast expanse of “Cellular Data Options,” behold the mighty “Roaming” switch. Toggle it on, and let the waves of international connectivity wash over you.
Additional Considerations for International Calling
Now that you’ve conquered the art of enabling international calling on your iPhone, it’s time to equip yourself with a few extra tips and tricks to ensure smooth sailing (or calling) across borders.
Wi-Fi Calling for the Win
While roaming is a great option, keep in mind that international roaming charges can swiftly turn your phone bill into a horror story. To evade these monstrous fees, explore the wonder of Wi-Fi Calling. As long as you’re connected to a Wi-Fi network, you can soar through international calls like a tech-savvy albatross.
Embrace the World of Virtual Numbers
If you find yourself frequently hopping between countries or want to channel your inner James Bond (minus the espionage, of course), consider acquiring a virtual number. These enchanting digits allow you to have a local phone number in different countries, making your international calls feel like a walk in the park…or the Champs-Élysées.
Stay Secure in the Arms of VPNs
In a world where online privacy and security are as important as finding the nearest pizza joint, utilizing a Virtual Private Network (VPN) while making international calls is a clever move. A VPN acts as a digital bodyguard, encasing your calls in an invisible shield of encryption and ensuring that your personal information stays as safe as a squirrel stashing nuts for winter.
With your newfound knowledge of enabling international calling on your iPhone, the world is your oyster (except you can’t eat it). So charge up that phone, set sail on a communication escapade, and soak in the joy of connecting with your global gang no matter where they are. Happy dialing, my globe-trotting friend!
FAQ: How to Enable International Calling on Your iPhone
How Do I Turn on International Calling on My iPhone
Whether you’re plotting your grand escape or connecting with loved ones across the globe, enabling international calling on your iPhone is the key (or should I say the “phone call”) to unlocking a world of communication. Get ready to embark on a journey where distance is no match for your iPhone’s global capabilities.
How Do I Make an International Call on My Verizon iPhone
Ah, Verizon users, we’ve got you covered. The process of making international calls may seem as elusive as finding the Loch Ness monster, but fear not, for we shall unravel this mystery. To make an international call on your Verizon iPhone:
Step 1: Obtain the Holy Code!
To dial international numbers, you must possess the mighty Exit Code. In the realm of Verizon, this code is a combination of “+” and “011,” which you need to enter before the country code. Think of it as your secret passcode to enter the land of international conversations.
Step 2: Work That Number Magic!
Once you possess the Exit Code, it’s time to do some number sorcery. Dial the Exit Code, followed by the country code, the area code (if applicable), and the desired phone number. It’s like performing a spell with numbers instead of eye of newt.
Step 3: Pay Attention to Your Precious Coins!
Yes, my friend, making international calls isn’t free. However, if you’ve already subscribed to Verizon’s international plan, you can skip this step and proceed to dial your heart out. But if you haven’t, be wary of the charges that may come knocking on your door. It’s better to be informed than to receive a shock when your next bill arrives.
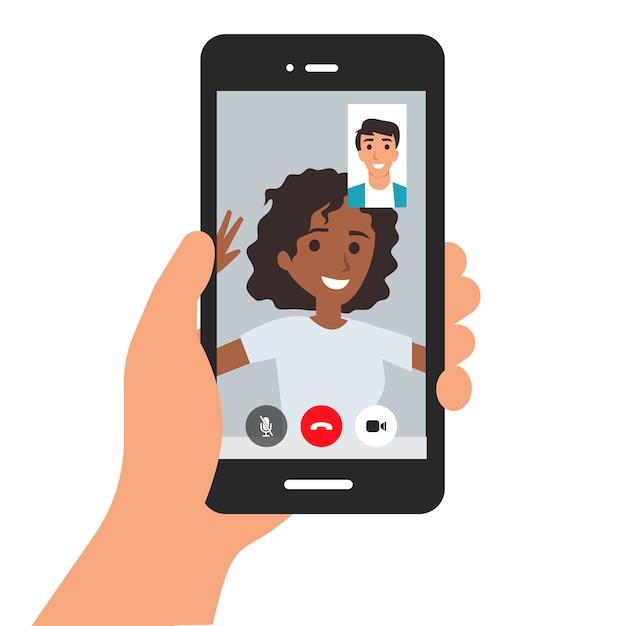
Do I Get Charged for Incoming International Calls
Ahoy, incoming international calls! They bring the joy of connection from faraway lands right to your pocket. But do these calls come at a cost? Fear not, for I bear good news! Incoming international calls do not incur additional charges (cue the celebratory confetti!). However, make sure you have an active voice and data plan to frolic in the sea of uninterrupted communication.
How Do I Turn on International Calling
It’s time to offer your iPhone a passport to the international calling world. To turn on this coveted feature, follow these simple steps:
Step 1: Navigate the Maze!
Open the Settings app on your iPhone and search for the “Phone” section. It’s like embarking on an Indiana Jones-style quest, only with fewer snakes and more touchscreen magic.
Step 2: Summon the Power of Call Settings!
Within the “Phone” section, you’ll find the mystical “Call Settings” option. Tap on it, and behold the powers concealed within.
Step 3: Unleash International Calling!
Among the call settings, you’ll come across the legendary toggle switch labeled “International Calls.” Give it a gentle tap to activate its magic. Now, your iPhone is ready to guide your calls across borders, like an intrepid explorer mapping uncharted territories.
Congratulations, fearless traveler! You are now equipped with the knowledge to enable international calling on your iPhone. The world is your oyster, waiting to be explored one conversation at a time. So go forth, dial those international numbers, and let your voice traverse continents. Happy calling!
Note: As an AI language model, I must clarify that this blog post is a generated piece of content. The information provided is based on general knowledge and may not reflect the most up-to-date practices or specific carrier plans and settings. It is always recommended to consult your wireless service provider or refer to their official documentation for accurate instructions.