Welcome to the fascinating world of shading techniques! Whether you’re an aspiring artist or a seasoned pro, mastering the art of shading is essential for creating depth and realism in your drawings. But where do you start? Which techniques should you learn? And what’s the difference between shading and blending anyway?
In this blog post, we’ll explore the answers to these questions and more as we delve into the realm of shading. We’ll discuss the four main shading techniques that every artist should know, uncover the secrets of smoothing pencil shading, and clarify the distinction between shading and blending. So grab your pencils and get ready to unlock the power of shading in your drawings.
But first, let’s understand the fundamentals. Where exactly should you put shading in a drawing? What are the five principles of shading that will guide you in creating realistic and captivating artwork? Join us on this artistic journey as we demystify shading techniques and equip you with the knowledge to take your drawings to the next level.
So, without further ado, let’s dive into the world of shading and unravel the secrets behind these four essential techniques.

What are the Four Shading Techniques
Shading is an essential skill for any artist looking to add depth, dimension, and realism to their artwork. But where do you start? In this section, we will explore the four main shading techniques that can help you bring your drawings to life. So grab your pencil and let’s dive in!
Hatching: Making Lines Work for You
Hatching is a shading technique that involves drawing multiple parallel lines to create the illusion of shading. By varying the spacing, angle, and thickness of these lines, you can control the intensity of the shadows and highlights in your drawing. Think of it as using lines to do your shading bidding – it’s like having a tiny army of marks at your disposal!
Cross-Hatching: When Hatching Gets Fancy
Cross-hatching takes things up a notch by adding a second layer of parallel lines to create a cross-hatching effect. This technique allows you to achieve even greater depth and complexity in your shading. By crossing the lines at different angles or densities, you can create a wide range of effects, from subtle gradients to bold textures. It’s like playing a game of tic-tac-toe, except with shading instead of Xs and Os!
Stippling: The Art of Dots
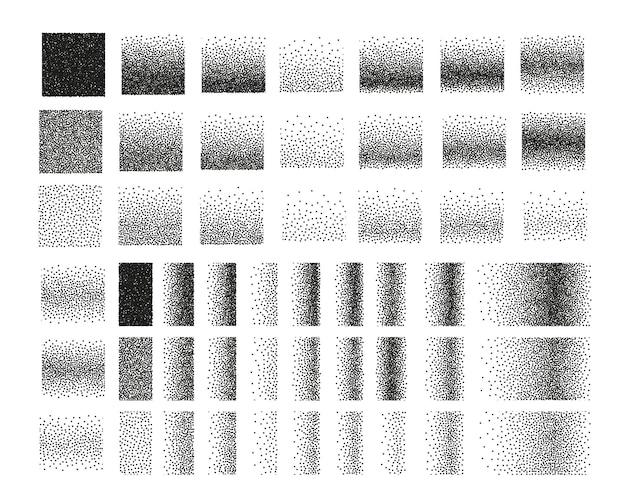
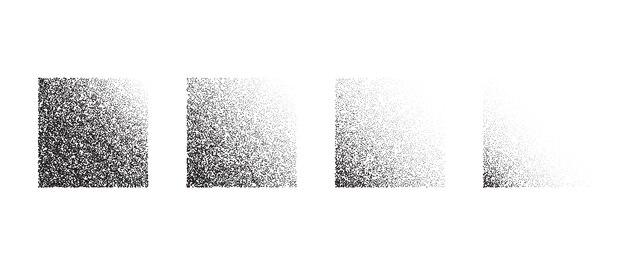
If you’re a fan of pointillism, then stippling is the shading technique for you! Instead of using lines, stippling involves creating shading through the strategic placement of tiny dots. By varying the density and spacing of these dots, you can control the value and texture of your artwork. It’s like creating a masterpiece one dot at a time – a bit like connecting the dots, but way more artistic!
Blending: Smooth Transitions, Smoother Moves
Blending is all about creating smooth transitions between different shades and values. This technique is particularly useful when you want to achieve a realistic, seamless look in your artwork. You can blend using various tools, such as a blending stump or even your finger (clean hands, please!). It’s like playing the role of a smooth operator, seamlessly merging shades together like a charismatic social butterfly!
And there you have it – the four shading techniques that can take your artwork from flat to fabulous! Whether you prefer the precision of hatching, the complexity of cross-hatching, the charm of stippling, or the smoothness of blending, there’s a shading technique for every artist. So go forth and experiment, mix and match, and let your shading skills shine. Remember, practice makes perfect, so grab your pencil, put on your shading hat, and let your imagination run wild!

FAQ: What are the 4 shading techniques
How do you achieve smooth pencil shading
When it comes to pencil shading, achieving smooth results can make all the difference. Here are a few handy tips to help you smooth out your shading:
Start with the right pencil
Using a soft graphite pencil, such as a 2B or 4B, can give you a smoother finish. The softer lead allows for easier blending and shading, resulting in a more polished look.
Apply varying pressure
Experiment with different levels of pressure to create depth and dimension in your shading. Lighter pressure will produce a lighter shade, while firmer pressure will darken the area.
Practice blending techniques
Blending is key to achieving smooth shading. You can use a blending stump, tissue, or even your finger to blend the graphite and create a seamless transition between light and dark areas.
What’s the distinction between shading and blending
Shading and blending are two different techniques that work together to bring life to your drawings.
Shading
Shading refers to the application of varying degrees of darkness or lightness to create depth and form in a drawing. It involves using techniques like hatching, cross-hatching, stippling, or smudging to add shadows and highlights.
Blending
Blending, on the other hand, is the process of smoothening out the transitions between different shades or tones. It helps to eliminate distinct lines and create a more seamless and realistic appearance in your artwork.
Where should shading be placed in a drawing
Knowing where to place shading can greatly enhance the overall impact of your drawing. Here are a few key areas to consider:
Observe your light source
Identify the direction and intensity of the light source in your scene. Shadows will be cast opposite the light, so focus on shading those areas accordingly to create a sense of depth and realism.
Depict volume and contour
Use shading to emphasize the three-dimensional qualities of your subject. By darkening areas that are further away from the light source and adding highlights to areas that catch the light, you can create the illusion of volume and form.
What are the 5 principles of shading
Understanding the principles of shading can help take your artwork to the next level. Here are the five key principles to keep in mind:
Value
Value refers to the lightness or darkness of a color or tone. By manipulating the range of values in your shading, you can add depth and dimension to your drawings.
Contrast
Contrast involves the variation between light and dark areas in your artwork. By juxtaposing light and dark tones, you can create visual interest and make certain elements stand out.
Gradation
Gradation refers to the smooth transition from one value to another. By skillfully blending your shades, you can achieve a gradual change in tone, adding a realistic touch to your drawings.
Form
Form refers to the three-dimensional shape and structure of an object. Using shading techniques, you can bring out the form of your subject, making it appear more solid and lifelike.
Texture
Texture refers to the surface quality of an object. Shading can help you create the illusion of different textures, such as smooth, rough, or reflective surfaces, adding depth and realism to your drawings.
What is the most effective shading technique
With various shading techniques to choose from, finding the most effective can be a matter of personal preference. However, one popular method among artists is called “cross-hatching.”
Cross-hatching
Cross-hatching involves drawing intersecting lines or strokes to create a texture or value. By layering these lines, you can build up depth and achieve a rich tonal range. Experiment with different angles and spacing between lines to create varying effects.
Remember, the best shading technique is the one that allows you to express your creativity and achieve the desired effect in your artwork. So don’t be afraid to explore, experiment, and have fun with shading!
